![[Solved] Lenovo Laptop Plugged in But Not Charging](https://www.technewstoday.com/wp-content/uploads/2023/05/lenovo-plugged-in-not-charging-300x150.webp)
By Deep Shrestha Deep Shrestha IT Engineer ( B.E. in IT ) Deep Shrestha works as a computer hardware writer at TechNewsToday with several hardware and programming certifications. Although he has been writing technical content for more than a year, his interest. Full Bio
Learn about our editorial policies Updated May 4, 2023
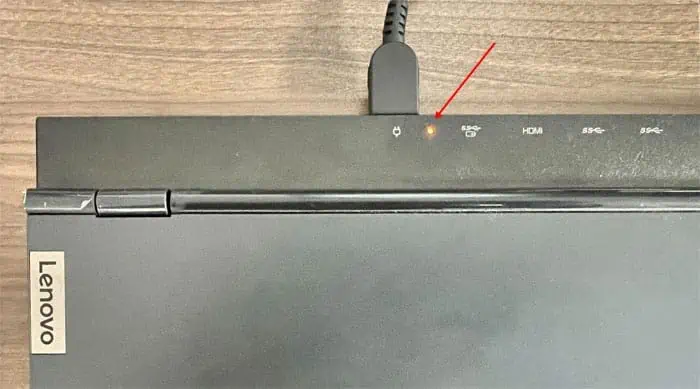
When you plug in any laptop to a charger, the battery icon on the system tray will change, indicating that the battery is charging. But when you hover or click on the icon, it says “Plugged in not Charging.”
Some Lenovo laptops have Conservation mode enabled. This feature stops the battery from charging after reaching a specified limit. Disabling this feature should get rid of the message, and the laptop should charge normally. But problems with the laptop’s battery or charger can also lead to the error.
Before going into the core fixes, here are some basic troubleshooting steps you can try.
Sometimes, the charge stored in the capacitors of your board could cause complications with the system. It could stop the laptop from charging or even stop the laptop from turning on.
You can power cycle the device to clear these residual charges from the capacitor.
Some Lenovo laptops come with a reset switch for laptop batteries. By resetting, the system will temporarily disconnect the battery’s connection to the laptop and then reconnect it shortly after.

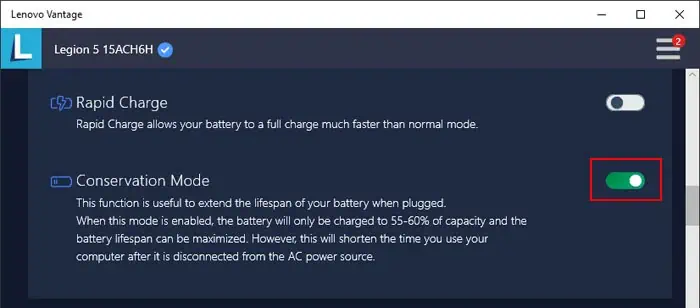
Lenovo includes a feature that does not allow you to charge the device above a certain percentage. So, if the configuration is set to charge the battery up to 60%, the charger icon on the system tray will give you a plugged-in but not charging message.
To check if your Lenovo laptop has this feature, you need to discharge your battery for some time and connect the laptop to a charger.
If it still gives the same message, you can move on to the next method. However, if the laptop starts to charge, you need to disable this feature to fully charge the laptop.
Your laptop requires specific power requirements for it to charge. Using a charger that does not support the laptop’s voltage and current requirement could stop the device from charging even when plugged in. To ensure this is not the case, we recommended that you check the AC power adapter.
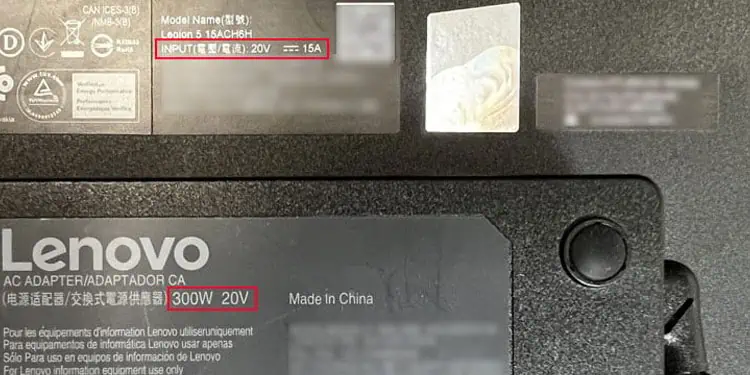
Check the laptop’s and AC power adapter’s voltage readings. For laptops you can find these on the base of the laptop. For chargers, they are located on one of its sides. The recommended voltage and wattage on the laptop should match the supplied voltage from the charger.
Note: Refer to the user manual or check Lenovo’s official website to check the recommended power for your laptop.
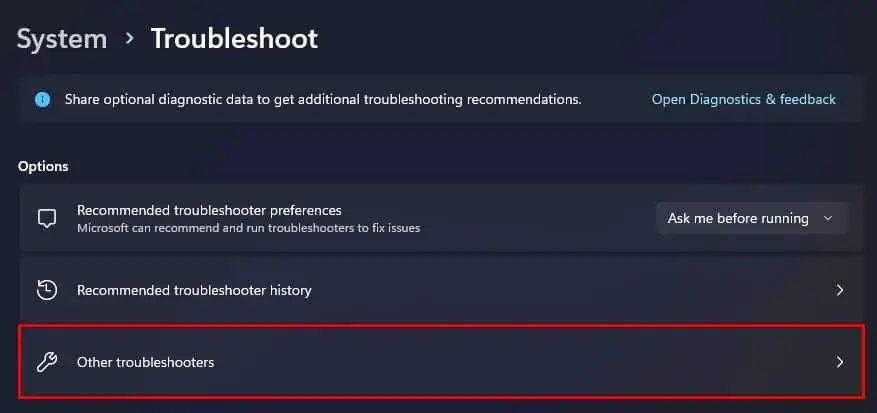
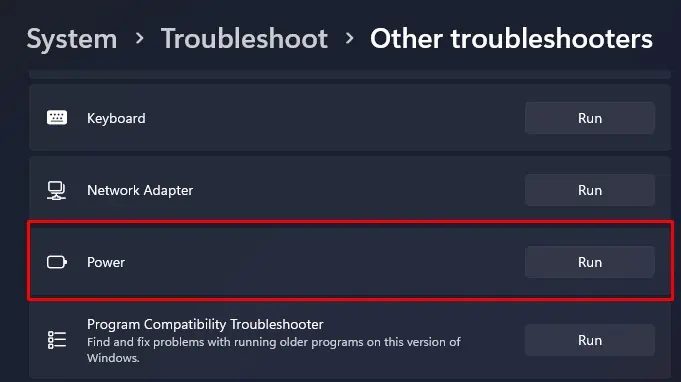
The power troubleshooter checks for problems and complications with the laptop’s power management. This includes any issues with the battery driver or power settings that could stop the laptop from charging.
Once it finds the issues with the system, it will recommend users to change the system settings, which might fix the problem with the battery.

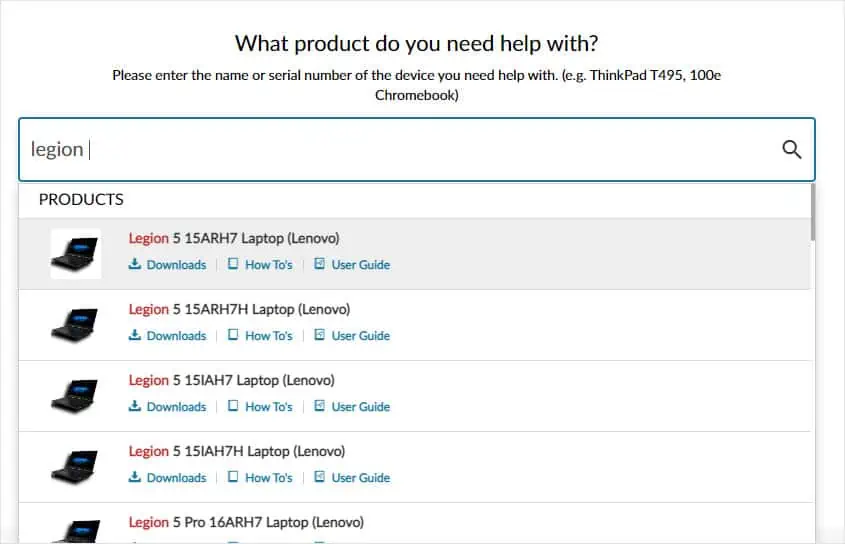
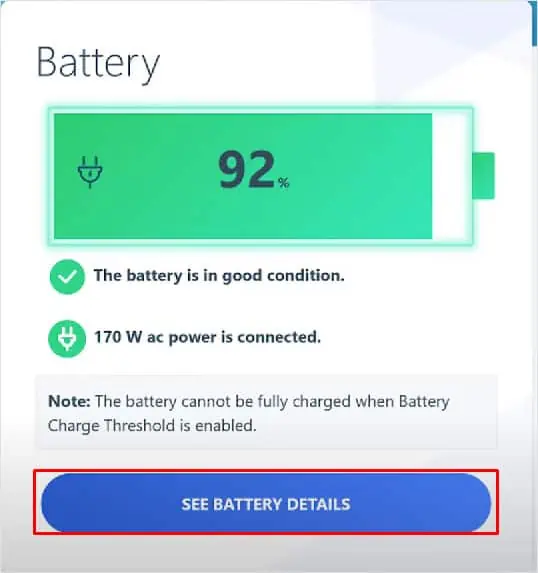
If the laptop is still displaying the plugged-in not charging message, there is a chance that the battery itself is faulty. You can use Lenovo Vantage to check your laptop’s battery health.
Here, check battery details and make sure that the battery is not running too hot or too cold. Compare designed voltage and voltage readings. These two values should be close to equal.
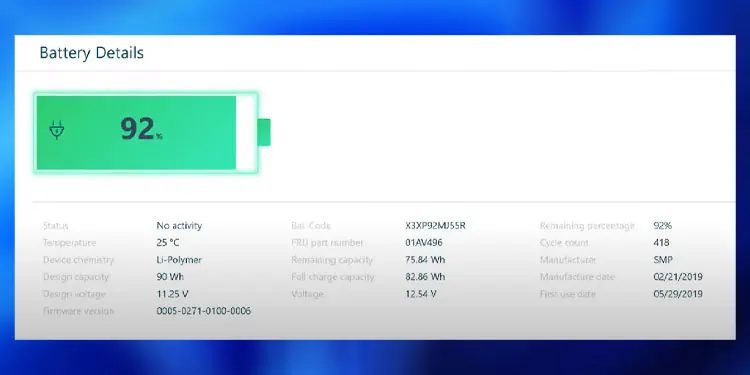
The designed voltage will provide a reference point to determine the current condition of your battery. If these values are far apart, replacing the batteries should fix the issue.
Alternatively, you can also use the command prompt to check the laptop’s current battery status.
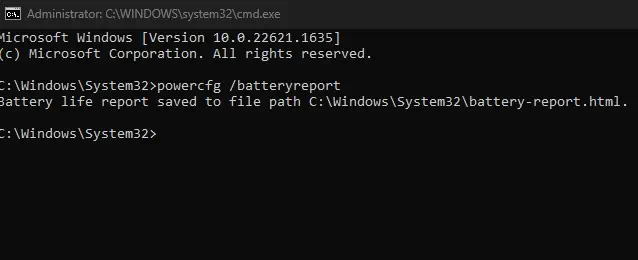
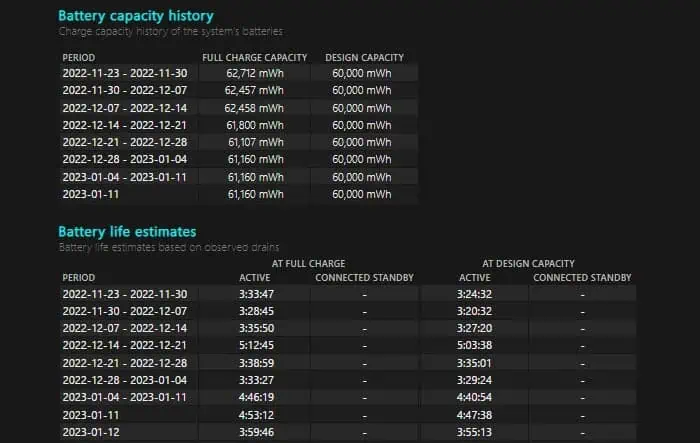
These two values should be relatively similar. If the Full Charge Capacity is significantly lower than the Designed capacity, it is an indication that the battery is degrading and needs a replacement.
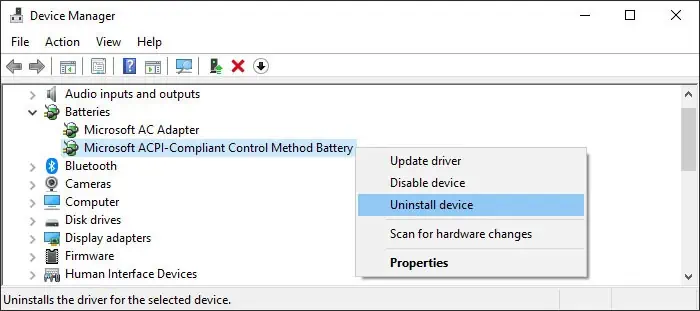
The battery driver in your laptop is responsible for communicating the physical battery in your laptop to the operating system. This driver is also responsible for the accurate battery icon and current battery condition that you see on the system tray menu.
Any issues with this driver could also cause the icon to display a plugged-in but not charging error message. First, try reinstalling the default battery driver in your system.
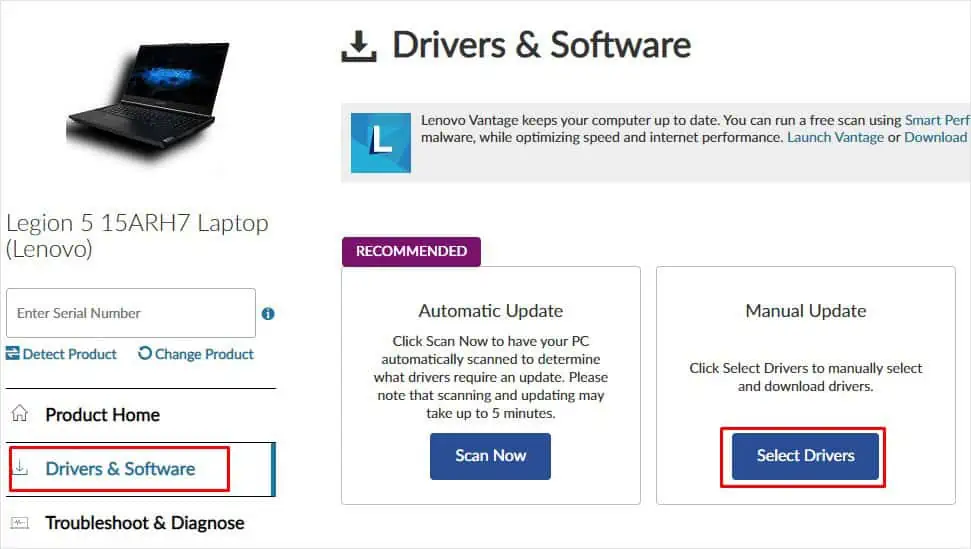
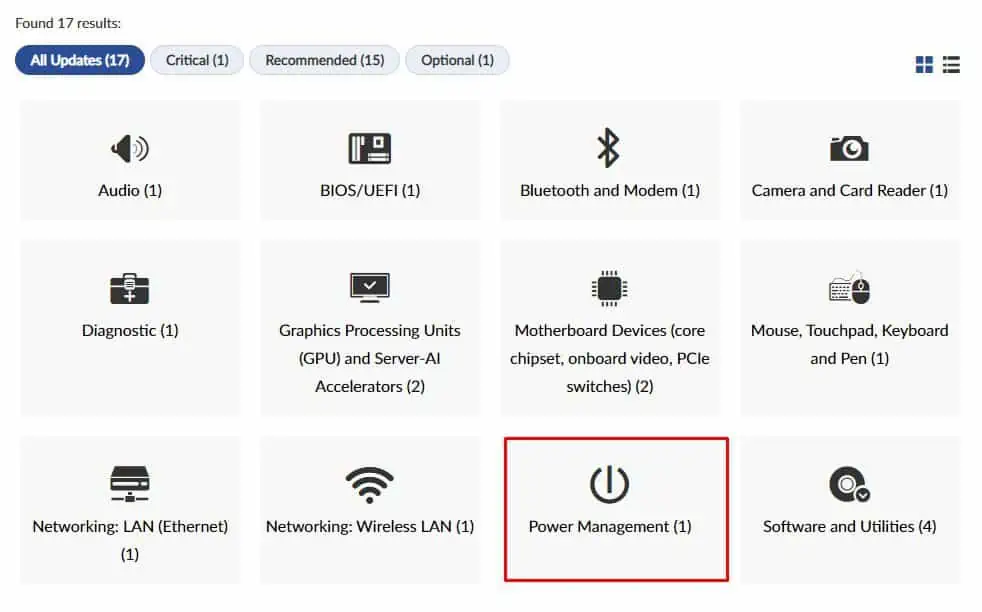
Check if the laptop starts to charge. If the laptop is still not charging, try updating the battery driver using Lenovo’s official battery driver.